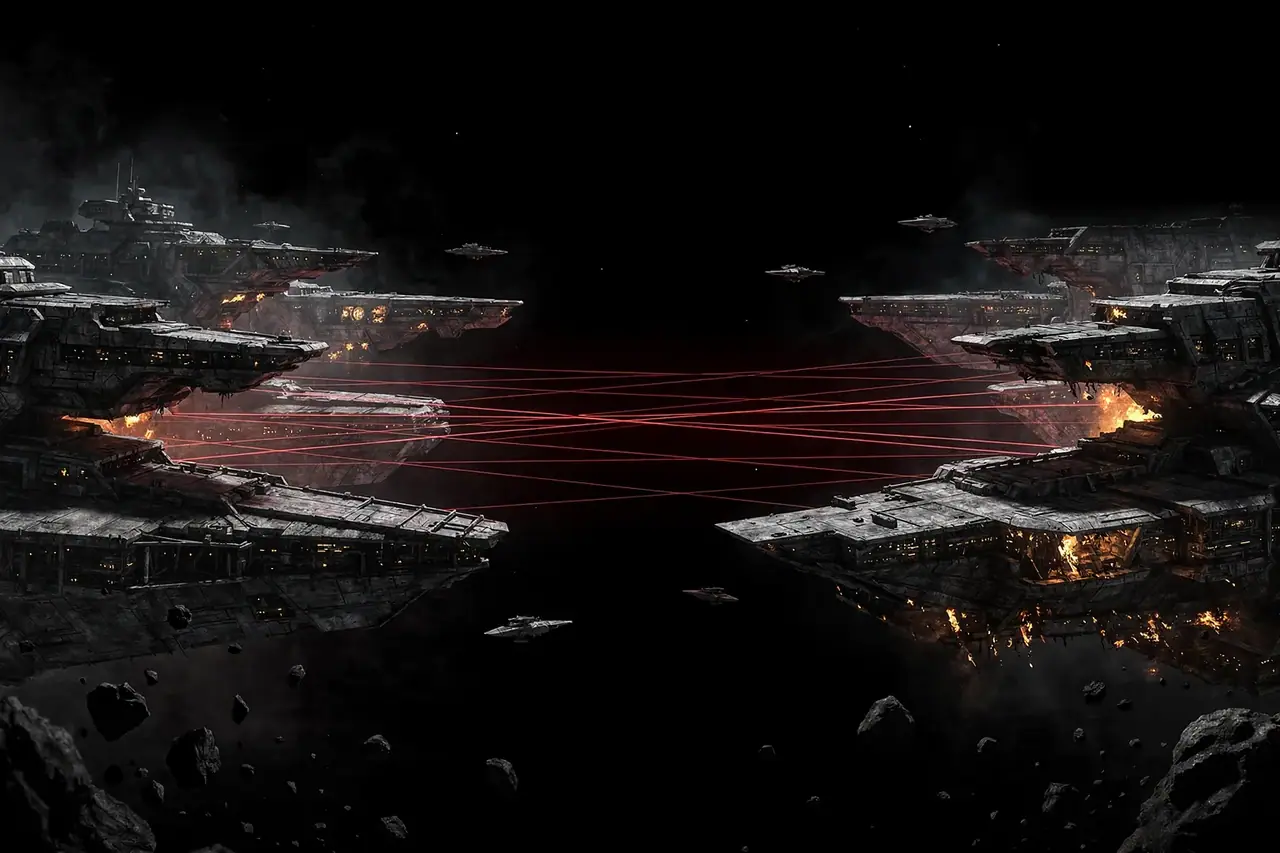
THE REINFORCEMENTS
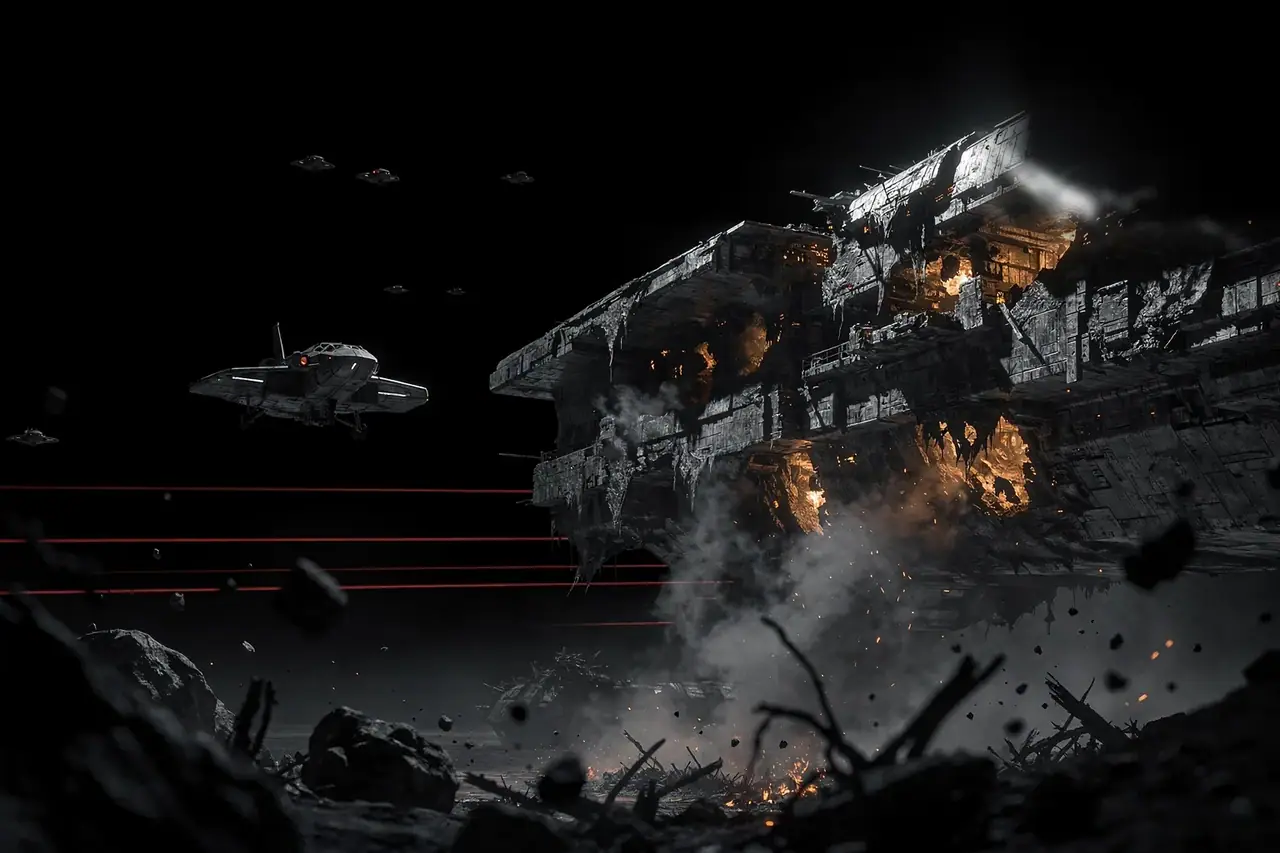
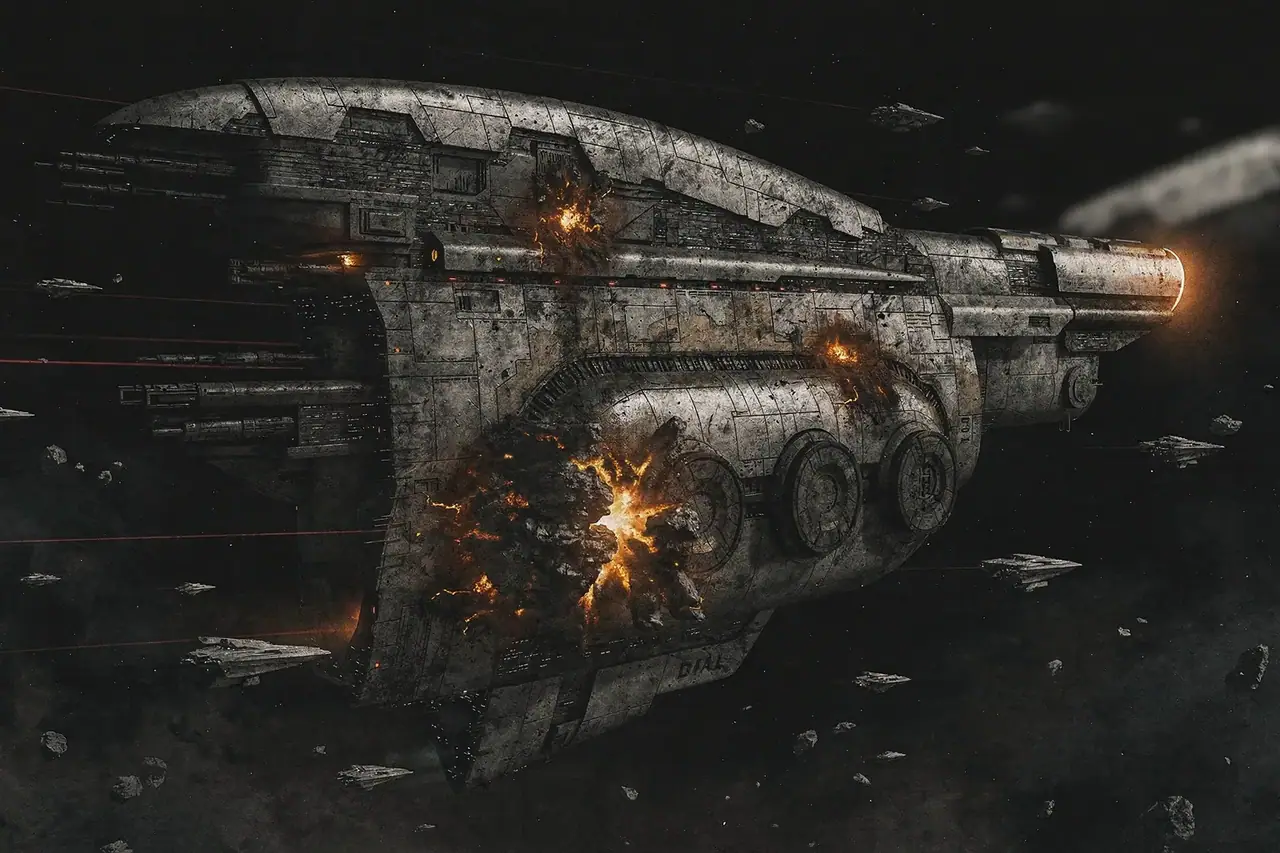
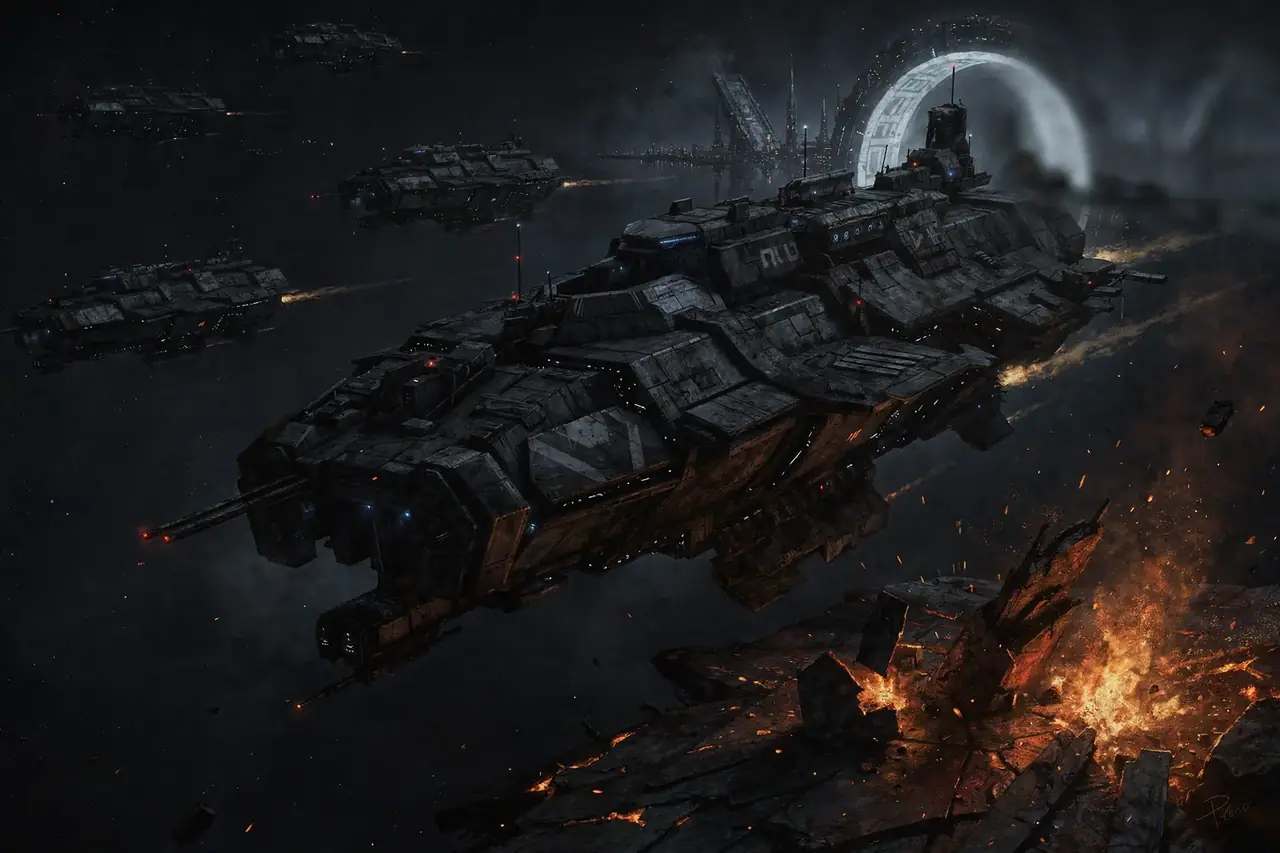
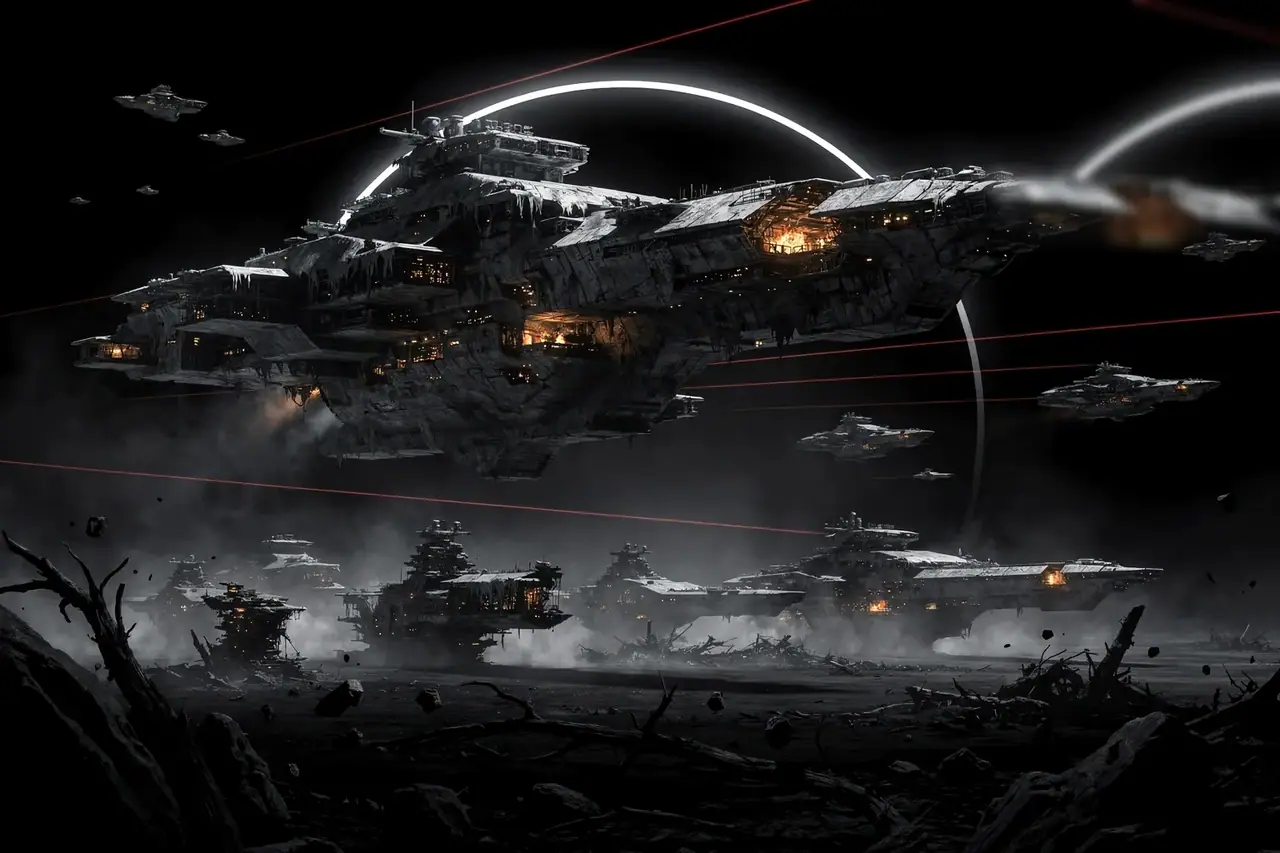
What makes this round of fighting stand out is not just the value destroyed, but the scale of the response. The opposing coalitions were back in force, and the participant count suggests neither side was willing to concede control of the grid. The battle report shows The Initiative. and Sigma Grindset alongside Fraternity. and Test Alliance Please Ignore, with other allies folded into both sides of the engagement, turning 4-HWWF into a prolonged contest rather than a quick strike.
THE PRESSURE BUILDS
The loss profile points to a mixed and hard-fought engagement. Feroxes and Omen Navy Issues made up the bulk of the destruction, but the wreckage also included 44 Redeemers and 23 Widows, along with Ferox Navy Issues and Raptor interceptors. That spread suggests the fighting was not confined to a single ship class or a clean fleet wipe; instead, both sides were trading blows across a range of hulls as the battle stretched on and pressure mounted.
THE TURNING POINT
The decisive note in the report is the way the engagement is framed as a continuation. This was not a fresh flashpoint, but a follow-up clash that pushed the total losses even higher in the same contested system. The final tally of 30.1 billion ISK for this round alone indicates that whatever brought the fleets to 4-HWWF was still unresolved, and that both sides remained willing to pay heavily to keep fighting for position.
THE LOSSES
By the end of the exchange, the field held 223 destroyed ships and a total value of 30.1 billion ISK. The Initiative. and Sigma Grindset, and others, appear to have suffered roughly 16 billion ISK in losses, while Fraternity. and Test Alliance Please Ignore, and others, lost about 14.1 billion ISK. The balance is close enough to show just how costly the fight was for everyone involved, with no side able to claim a clean and inexpensive victory.